 snapside
Create Social Media Images and Videos from Project Updates
Turn your project history into PNG images and MP4 videos with Snapside. A practical guide to export sizes, saved updates, and social captions.
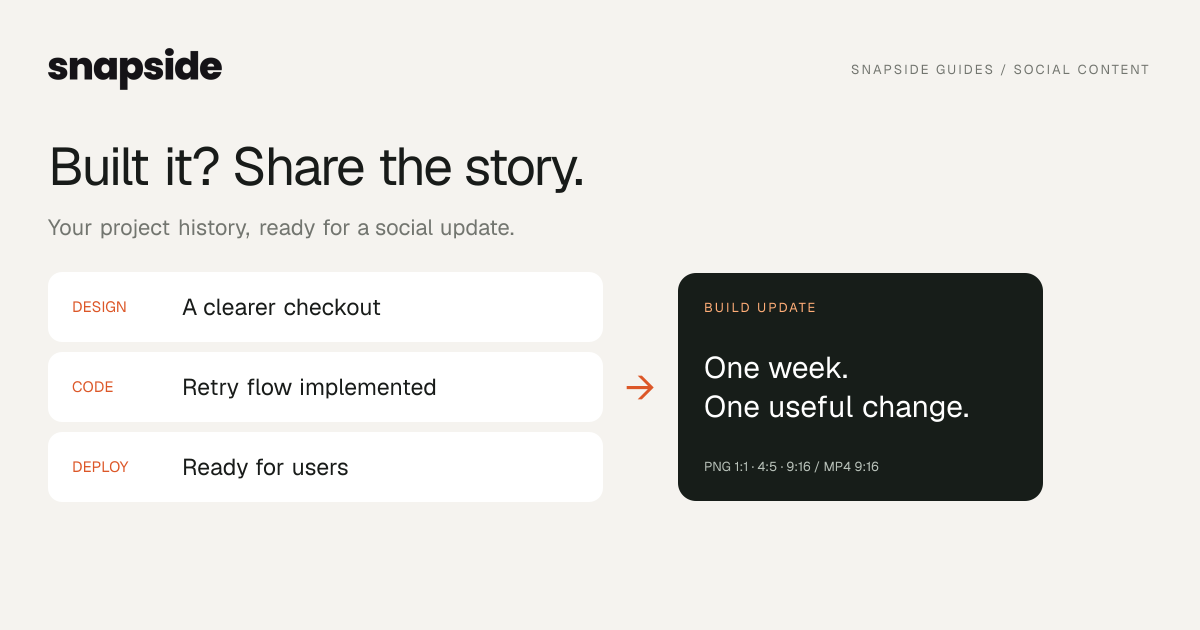
You shipped an improvement, but writing the announcement means reconstructing the work: what changed, why it mattered, and what users can do now. Your project history is a useful starting point.
Snapside turns saved build updates into social media images and timeline videos. The workflow starts with real activity from your connected tools and ends with a file and caption you can review before posting.
Start with one meaningful change
Choose an update that tells a clear story. A hypothetical checkout improvement might connect a requirements change, a redesigned error state, a code merge, and a deployment. Describe the user-facing result rather than listing how many files changed. Include performance or conversion claims only when you have evidence for them.
Create a social media image
- Open your project and check that activity from your connected tools appears in its timeline.
- Open Share your work for the period you want to cover. Choose Image and create the update. That period needs to contain changes.
- Open Edit content and captions, review the title, summary, and highlights, and save your edits.
- Select a Card ratio: 1:1 exports at 1080 × 1080, 4:5 at 1080 × 1350, and 9:16 at 1080 × 1920.
- Review the preview and select Download PNG.
A square card is a useful starting point for reusable updates; portrait formats give you more vertical space. Check cropping and overlays in the destination platform's upload preview. These are Snapside export sizes, not a promise that every platform displays them identically.
Cards use the saved update. Save changes before downloading a fresh file.
Create a social media video
Choose Video in Share your work, review the timeline preview, and select